Tutorial: iOS-to-Workstation Editing Workflow with Adobe Premiere Clip and Premiere Pro
With Adobe Premiere Clip, you can shoot your video with your iPhone or iPad, perform edits on that iDevice using Premiere Clip, then transfer the video and the project to the Creative Cloud and bring it into Adobe Premiere Pro on your workstation for finalization. Here's how.
A lot of producers are beginning to shoot with iPhones and iPads for two key reasons:
- The quality can be very good if you’re shooting under good lighting conditions
- They’re a lot more convenient to carry around than a camcorder.
Recent developments on the NLE end have also made it possible to start editing on your iOS devices. Of course, you don’t want to really start editing if you can’t transfer your project to a laptop or desktop and pick up where you left off. That’s precisely the problem that Adobe is addressing with a new iOS-based editing product called Adobe Premiere Clip.
With Adobe Premiere Clip, you can shoot your video with your iPhone or iPad, perform edits on that iDevice using Premiere Clip, then transfer the video and the project to the Creative Cloud and bring it into Adobe Premiere Pro on your workstation for finalization. That’s what I’m going to demonstrate in this tutorial. Let's get started.
Importing Media into Adobe Premiere Clip
To begin, locate Adobe Premiere Clip on your iDevice and and launch it. The first step is to create a new project. To do so, go to the upper-right corner of the UI and tap the plus (+) sign to start a new project (Figure 1, below). For this example, we’ll name that project Clip (Figure 2, below Figure 1).

Figure 1. Click the plus (+) sign to start a new project.
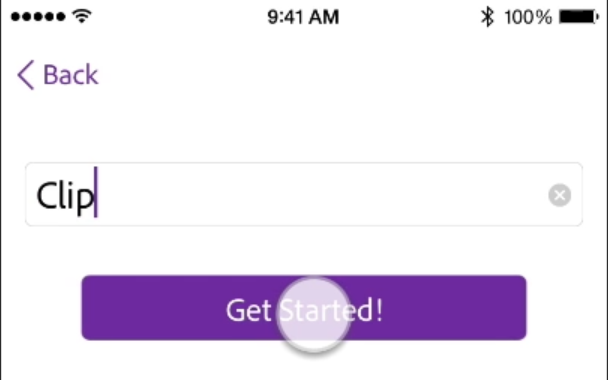
Figure 2. Naming the project and getting started.
To bring in footage, tap the plus (+) sign in the lower-right corner (Figure 3, below) to access video on your iPhone or iPad. For this project, I’ll choose video from my iPhone, as shown in Figure 4 (below Figure 3), select the most recent video (Figure 5, below Figure 4), and then tap Add on the bottom right (Figure 6, below Figure 5).

Figure 3. Tap here to import media into your project.
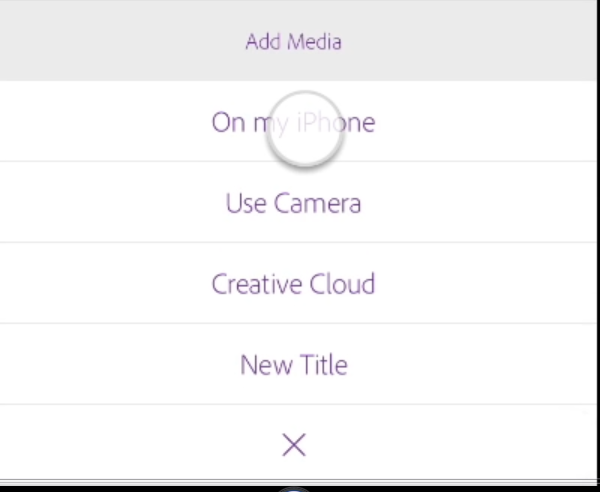
Figure 4. Tap here to tell Premiere Clip where to find the media you want to import.

Figure 5. Select your media here.
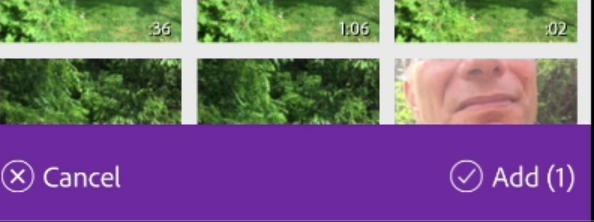
Figure 6. Tap here to add the selected clip(s).
Related Articles
In late 2014, Adobe unveiled a mobile editing app called Premiere Clip for iOS--a well-designed and useful app, if not a full-fledged pro editing solution like Premiere Pro. Here we look at the recently introduced Android version to see if it measures up to the iOS app and what, if any, new functionality it introduces.